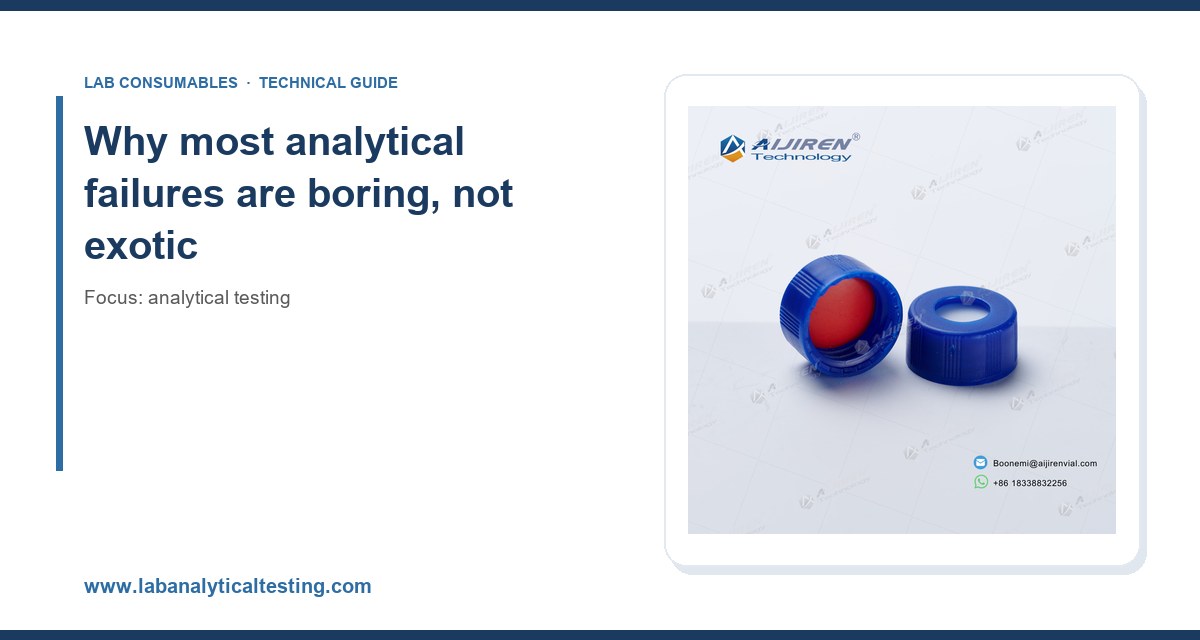
I spent the better part of a Tuesday last month chasing a 4.2% RSD on a set of EPA 8270 semivolatiles standards when the method limit was 2.5%. The autosampler was fine. The column was three weeks old. The culprit turned out to be a batch of septa that had been pierced about 90 times each on a 60-vial sequence, and the coring debris was dropping straight into the inlet. That kind of failure is common, expensive, and almost always preventable. What follows is what I have learned about the failures that actually bite analytical labs in daily operation, why they happen, and the specific parameters I now build into SOPs to keep them from coming back.
When a result fails, the instinct is to suspect the instrument, the method, or the analyst. In my experience running a contract testing operation, roughly 70% of the failures I have investigated traced back to consumables, sample handling, or calibration drift, not hardware. The instrument almost never “just breaks.” Something upstream of the detector changed, and nobody noticed until the QC sample failed.
The failures cluster into six categories: sample preparation and handling, consumables (vials, septa, filters, syringes), mobile phase and gas supply, calibration and QC design, instrument hardware, and data handling. The first three account for the majority of day-to-day pain. If you build prevention around those, your failure rate drops fast.
Failure 1: autosampler vial and septum problems
This is the single most common source of chromatographic grief, and it is the easiest to fix. The failure modes are predictable.
Septum coring and the debris problem
A standard 11 mm silicone/PTFE septum has a finite puncture life. Once you exceed roughly 50 to 100 punctures on the same septum (depending on needle gauge and septum quality), you start seeing rubber particles in the vial and, worse, in the inlet liner. I have pulled liners out of a split/splitless inlet that looked like they had been stuffed with pencil shavings. Every one of those particles is a potential active site, a peak ghost, or a blocked needle.
The fix is procedural, not heroic. Pre-slit septa reduce coring, but they also increase evaporation and are a poor choice for volatile analytes. For long sequences, use a fresh septum per 96-well plate or per 100 injections, whichever comes first. For a 60-vial sequence with duplicate injections, that means changing septa at the halfway mark. Buy septa rated for the needle gauge you actually use; a 23-gauge needle cores a 22-gauge-rated septum faster than you would expect.
Vial geometry and volume effects
A 2 mL vial with a 300 µL insert is not the same as a 2 mL vial filled to 1.5 mL. Headspace ratio changes the evaporation rate of volatile analytes, and the autosampler needle depth changes whether you are sampling the liquid or the headspace. I have seen a 15% loss of a volatile internal standard over an 8-hour sequence simply because the vials were filled to 250 µL instead of 1 mL. Fill consistently, and document the fill volume in the SOP.
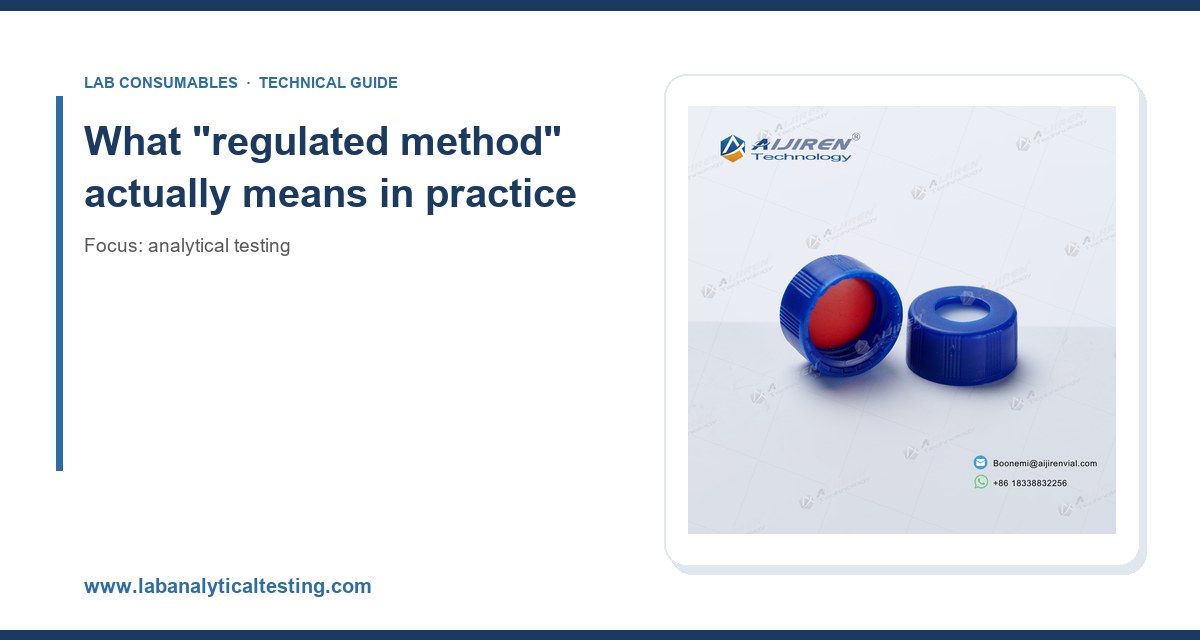
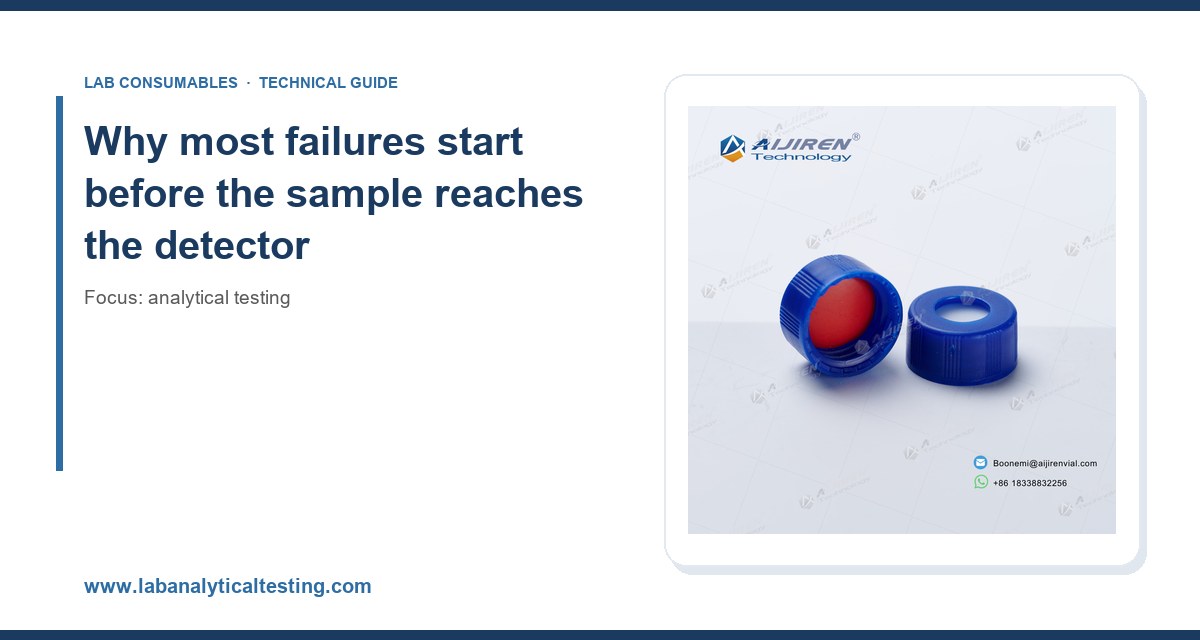
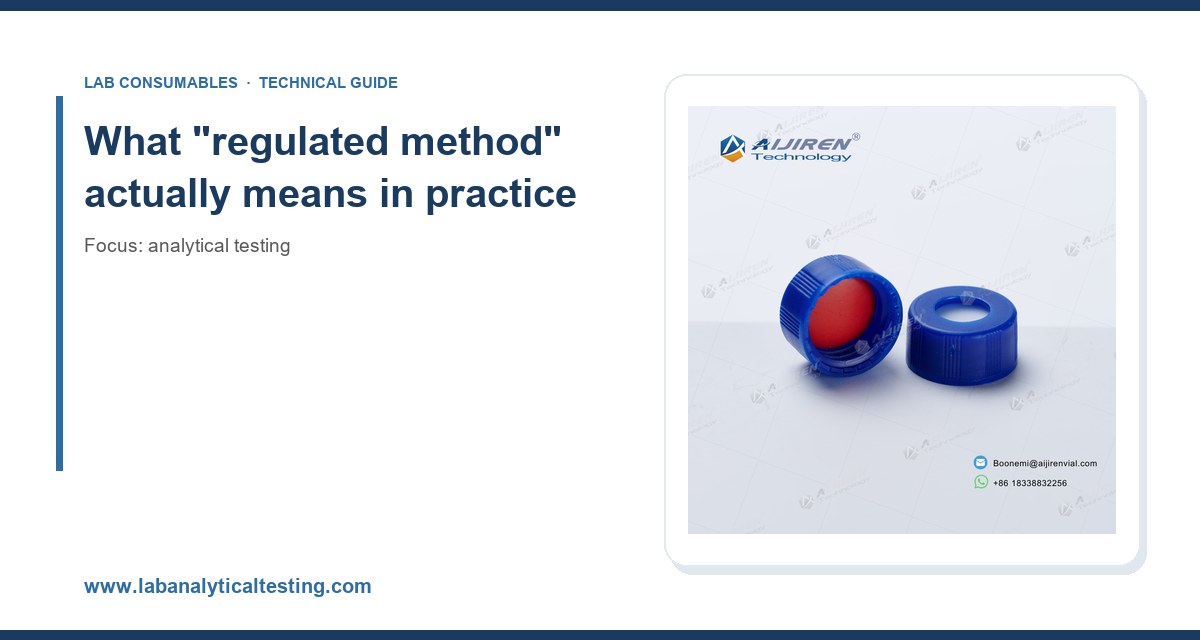
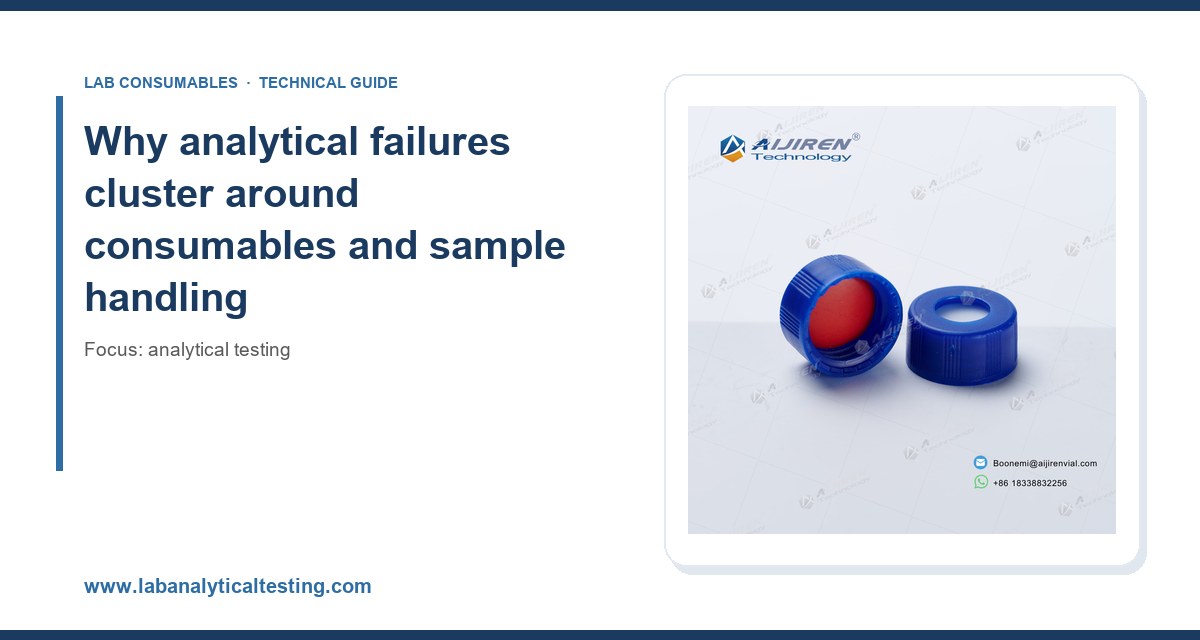
Vial quality matters too. A poorly molded crimp neck can leak, and a leaking vial loses volatile analytes silently. When I audit a lab, I look at the chromatography vial specification sheet before I look at anything else. Neck dimensions, glass class (Type I borosilicate for most LC work), and dimensional tolerance on the crimp finish are the numbers that predict whether you will have leaks. For high-throughput LC work, I standardize on HPLC vial lots that are certified for autosampler compatibility and dimensionally verified, because a 0.1 mm variance in neck height can cause a needle strike on some autosamplers.
Decision checklist: vial and septum selection
- Volume and fill: 2 mL vial, fill to 1.0 to 1.5 mL for volatile work; never below 500 µL unless using an insert.
- Glass class: Type I borosilicate for LC and most GC; Type 33 for cost-sensitive non-critical work.
- Septum: silicone/PTFE for general use; PTFE-faced silicone for volatiles; pre-slit only for non-volatile, high-throughput work.
- Puncture life: replace at 100 punctures maximum; 50 for 23-gauge needles.
- Crimp vs. screw: screw thread for flexibility; crimp for high-throughput autosamplers with fixed needle depth.
- Certification: dimensional verification and autosampler compatibility statement from the vendor.
Failure 2: sample preparation and filtration losses
Filtration is where analytes go to die quietly. A 0.22 µm PTFE syringe filter will adsorb hydrophobic analytes, and a 0.45 µm nylon filter will leach oligomers into your LC mobile phase. I have watched a 30% recovery loss on a semivolatile method that traced entirely to the filter membrane.
Membrane selection by analyte class
Match the membrane to the chemistry, not to what is in the drawer. For aqueous samples with polar analytes, use hydrophilic PVDF or cellulose acetate. For organic solvents, use PTFE. For protein-containing samples, use low-binding PES. Never use nylon for aqueous samples with basic analytes, because nylon is a polyamide and will adsorb them. Never use cellulose acetate with high-organic mobile phases.
Also check the filter’s extractables. A filter that leaches UV-active compounds will show up as a rising baseline in gradient LC. Run a blank filtration through the filter and inject it before you trust a new lot.
Extraction recovery drift
Recovery drifts because the matrix changes, not because the method is wrong. A soil extraction that recovers 95% on a sandy loam will recover 60% on a high-organic clay. Track recovery by matrix type, and build a matrix-specific acceptance criterion. If you are running EPA SW-846 methods, the method defines the QC but not the matrix-specific recovery expectation; that is your job.
Failure 3: mobile phase and carrier gas problems
Mobile phase failures are the second most common cause of LC trouble, and they are almost always preventable with a checklist.
Degassing and dissolved oxygen
Dissolved oxygen in an LC mobile phase causes baseline noise and, in fluorescence detection, serious quenching. A properly degassed mobile phase holds dissolved oxygen below about 1 ppm. Inline vacuum degassers help, but they fail silently. Check the degasser vacuum annually, and sparge with helium (about 10 to 15 mL/min) for high-sensitivity work. For GC carrier gas, oxygen and moisture traps are the equivalent; a saturated trap passes oxygen straight to the column and destroys the stationary phase. Replace traps on a schedule, not on a hunch.
pH and buffer precipitation
Mixing an organic modifier with a high-concentration buffer at the wrong pH will precipitate salt in the lines. I have seen a 100 mM phosphate buffer at pH 6.8 mixed with 80% acetonitrile and produce a visible precipitate within an hour. Keep buffer concentration below 20 mM when the organic fraction exceeds 60%, or use a volatile buffer (ammonium formate or acetate) that stays soluble.
Water quality
Use 18.2 MΩ·cm water with TOC below 5 ppb for LC mobile phases. A degrading water system shows up as a rising baseline and ghost peaks in gradient runs. Check the resistivity readout weekly and the TOC monthly.
Failure 4: calibration and QC design failures
A calibration curve that passes the correlation coefficient check can still be wrong. R² is a weak test. I have seen a five-point curve with R² of 0.9998 that was biased by 12% at the low end because the lowest standard was above the method reporting limit.
Weighting and range
Use 1/x or 1/x² weighting when your calibration spans more than two orders of magnitude. Verify the curve at the low end with a standard at the method reporting limit. If your lowest calibration point is 10x the reporting limit, you have no data at the reporting limit, and your “less than” results are guesses.
QC sample placement
Place a continuing calibration verification (CCV) every 10 samples, not every 20. Place a method blank at the start and end of each batch. Place a matrix spike and duplicate in every batch of 20 or fewer samples. If your QC fails, the batch fails; do not average your way out of it.
Failure 5: instrument hardware and column degradation
Columns fail predictably. Retention time drift, peak tailing, and rising backpressure are the three signals, and each points to a different root cause.
Retention time drift
Drift usually means the column is bleeding or the stationary phase is stripping. Check the column’s upper temperature limit against your method; running a 325 °C column at 340 °C will strip the phase in a few weeks. Check carrier gas purity; oxygen in the carrier accelerates phase degradation. Check the inlet liner and septum for contamination, which changes the sample transfer and shifts retention.
Peak tailing
Tailing on basic analytes usually means active sites in the inlet or column. Replace the liner, check the column’s end fitting for a bad cut, and verify the column is rated for the pH and temperature you are using. A column run above its pH limit will show tailing first, then a rising baseline.
Backpressure rise
Rising backpressure means a blocked frit or a column packed with particulate. Check the inline filter and the guard column first. If the guard column is not doing its job, your samples are reaching the analytical column, and the column is the filter.
For column selection and replacement criteria, the vendor technical resources are worth a look. Agilent’s GC column and accessory documentation lists temperature limits and phase specifications in a usable form, and Restek’s technical resources have good troubleshooting flowcharts for retention and peak shape problems. For LC hardware and sample handling, Thermo Fisher’s chromatography documentation covers the consumable specifications that matter for method transfer.
Failure 6: data handling and integration errors
Integration errors are the quietest failures. A peak that is integrated with the wrong baseline will pass a visual check and fail an audit. Set integration parameters in the method, not by hand, and lock them. Review every chromatogram in a batch, not just the failed ones. If your software allows it, run a second integration pass with fixed parameters and compare the results; a difference above 5% means the integration is not reproducible.
Prevention: the daily, weekly, and monthly checklist
The labs that run clean do not have better instruments. They have better checklists. Here is the one I use, with the numbers that matter.
Daily
- Check mobile phase volume and appearance; replace if cloudy or if the pH has shifted more than 0.1 units.
- Verify carrier gas pressure and trap indicators.
- Run a system suitability injection and compare retention time to the previous day; flag drift above 0.05 min.
- Inspect the autosampler needle and septum; replace the septum if the sequence exceeds 100 injections.
Weekly
- Check water system resistivity (18.2 MΩ·cm) and TOC (below 5 ppb).
- Replace inlet liner if peak shape has degraded or after 200 injections.
- Check column backpressure against the baseline; flag a rise above 10%.
- Run a blank gradient and inspect for ghost peaks.
Monthly
- Replace gas traps and inline filters.
- Verify autosampler needle depth and injection volume calibration.
- Review calibration curves for weighting and low-end bias.
- Audit integration parameters against the method.
What I recommend: build prevention around consumables and QC
If I had to pick the two changes that cut failure rates the most in my own operation, they would be standardizing consumables on verified lots and tightening QC placement. The consumables piece is concrete: specify vial and septum dimensions, certify lot-to-lot, and replace septa on a puncture count rather than a calendar. The QC piece is equally concrete: CCV every 10 samples, blank at start and end, spike and duplicate every 20 samples, and a low-end calibration standard at the reporting limit.
For labs that want a single source for the consumables side, the specifications and lot documentation at Aijiren cover the vial and septum parameters that drive most of these failures. If you are building or auditing a testing program and want the method and QC framework in one place, the resources at analytical testing are a reasonable starting point.
Troubleshooting quick reference
- Ghost peaks in gradient: check water quality, mobile phase age, and filter extractables.
- Retention drift: check column temperature limit, carrier gas purity, and inlet contamination.
- Peak tailing on bases: check inlet liner, column pH limit, and active sites.
- Rising backpressure: check inline filter, guard column, and sample particulate.
- Low recovery: check filter membrane compatibility and matrix-specific recovery.
- Failed CCV: check calibration weighting and low-end standard placement.
- Septum debris in inlet: replace septa at 100 punctures and verify needle gauge compatibility.
The failures that cost the most are the ones that happen slowly and silently: a septum coring over 90 injections, a filter adsorbing 30% of an analyte, a calibration curve biased at the low end. None of them announce themselves. The labs that catch them early are the ones that built the checklists, set the puncture counts and recovery limits, and treat consumable specifications as method parameters rather than purchasing details. Do that, and the 4.2% RSD on a Tuesday becomes a five-minute fix instead of a lost day.
References & further reading
Related resources from our lab consumables network:
- Analytical Testing at labanalyticaltesting.com
- Aijiren at aijirentechinc.com
- Chromatography Vial at chromvials.com
- Hplc Vial at hplcvialfactory.com
External references and standards: