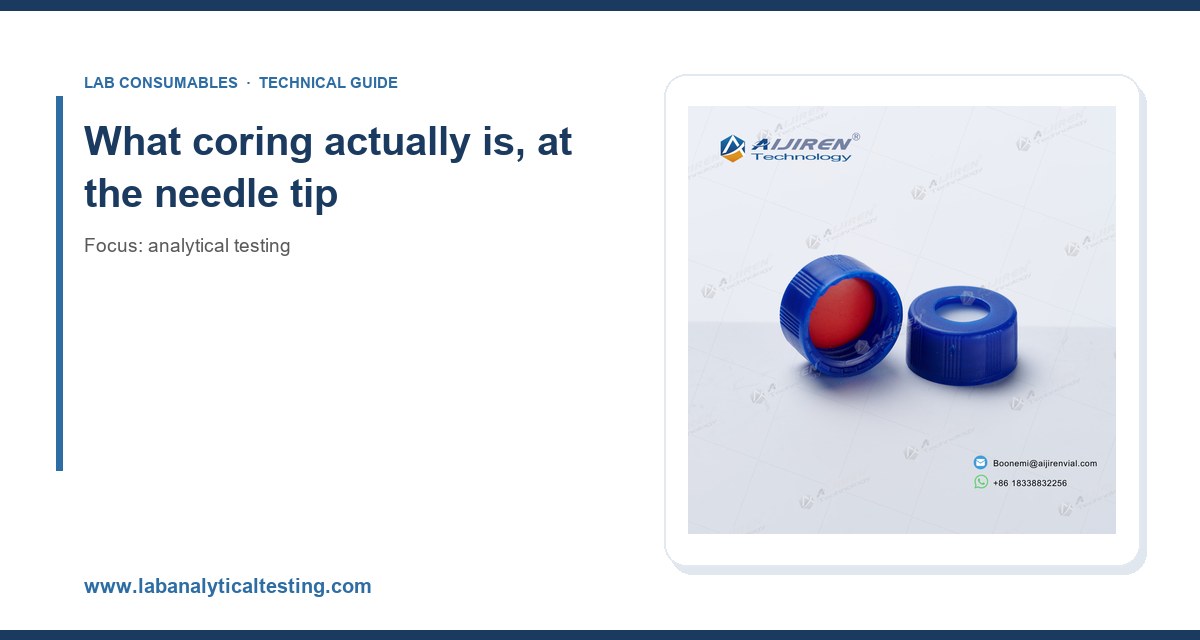
I have pulled more than a few septa out of an inlet that looked like they had been attacked with a hole punch. The autosampler had punched through the same spot so many times that a clean disc of silicone had dropped into the liner, and the needle was bending on the way down. The run that failed was not a method problem. It was a consumable problem that had been building for about 600 injections. Coring is the quiet failure mode in analytical testing: it does not throw an error, it does not show up on a calibration curve, and by the time you see the symptom the damage is already in the data and in the needle.
This article is about what actually happens at the septum and the needle, how to measure it, and how to set replacement intervals that keep coring out of your chromatograms.
Coring is the removal of a plug of septum material by the injection needle. Every injection pushes a hollow or beveled needle through an elastomer disc. The elastomer deforms, the needle cuts a small slit, and on withdrawal the slit should close and reseal under the compressive load of the septum nut. That is the design intent. Coring happens when the slit does not close, when the needle punches a fresh hole next to the old one, or when the elastomer is too soft or too hard to recover.
Three things drive it:
- Needle geometry. A sharp bevel with a clean point cuts and reseals. A blunt, burred, or bent tip tears and drags. A 23-gauge needle with a 0.63 mm OD is standard for most liquid autosamplers; a 26-gauge at 0.47 mm OD cuts a smaller hole but bends more easily and is more sensitive to septum hardness.
- Septum formulation and hardness. Silicone, silicone with a PTFE face, and layered silicone/PTFE discs behave differently. A pure silicone septum at 45 Shore A reseals well but has poor solvent resistance. A PTFE-faced septum resists solvent attack on the sample side but the PTFE does not reseal, so the silicone underneath has to do the work.
- Injection pattern. If the autosampler does not index the needle position, every injection hits the same point. That is the fastest route to a coring failure. A vial with a 6 mm center hole and a needle that lands within 0.5 mm of the same spot every time will core in a few hundred injections.
The practical consequence is that coring is not a single event. It is a cumulative wear process, and the only way to control it is to measure the accumulation and replace before it becomes a data problem.
Where the damage shows up first: the inlet, not the vial
Most people think about coring at the vial septum. In my experience the inlet septum is the more expensive failure. A vial septum that cores drops a fragment into the sample, which you may catch as an extra peak or a blocked needle. An inlet septum that cores drops a fragment into the liner, and from there into the column. The symptoms are a ghost peak that moves, a rising baseline, and eventually a partially blocked frit. By that point you have lost a column.
The inlet septum sees higher temperature and higher pressure than the vial septum. At 250 to 300 °C inlet temperature, a standard silicone septum bleeds and hardens faster. A PTFE-faced or a low-bleed silicone septum with a bonded PTFE layer is the right choice for hot inlets. The trade-off is that the PTFE face is stiffer, so the needle has to cut through it every time and the reseal depends on the silicone layer underneath.
I replace inlet septa on a count, not a calendar. For a split/splitless inlet running at 280 °C with a 23-gauge needle, I use 100 to 150 injections per septum as the default interval and pull a septum to inspect at 100. If the puncture site shows a visible crater or a loose flap, the interval comes down. If it is still clean at 150, I leave it. The number is method-specific, and the only way to set it is to look.
Why the needle gets blamed for a septum problem
A bent needle is usually the victim, not the cause. The sequence is: the septum cores, a fragment sits in the needle guide or on the septum surface, the next injection drives the needle into the fragment, and the tip deflects. The needle bends, the autosampler throws a “needle error,” and the operator replaces the needle. The new needle bends within a week because the septum is still bad. I have seen this loop run three times before anyone pulled the septum.
The check is simple. Pull the septum, hold it up to a light, and look at the puncture site. A healthy septum shows a tight slit or a small clean hole. A cored septum shows an enlarged hole with ragged edges, a missing plug, or a flap of material. If you can see a hole larger than the needle OD, the septum is done.
Septum selection: the numbers that matter
Not all septa are interchangeable, and the spec sheet rarely tells you what you need. Here is what I actually compare.
Hardness and reseal performance
Shore A hardness for GC septa typically runs 40 to 55. Softer septa (40 to 45) reseal better and are easier on the needle, but they extrude under high inlet pressure and can leak. Harder septa (50 to 55) hold pressure better but cut less cleanly and core faster with a small-gauge needle. For a split inlet at 10 to 20 psi, 45 Shore A is a good default. For a splitless inlet at 20 to 30 psi with a 0.53 mm column, I go to 50 Shore A and accept a shorter injection count.
Temperature rating
The published maximum is not the working maximum. A septum rated to 350 °C will bleed at 350 °C. For a 280 °C inlet I want a septum rated at least 50 °C above the inlet temperature, so 330 °C or higher. A low-bleed silicone septum rated to 350 °C is the right choice for a hot inlet; a general-purpose septum rated to 300 °C belongs on a 200 °C inlet, not a 280 °C one.
PTFE facing and solvent compatibility
A PTFE-faced septum protects the silicone from solvent vapor on the sample side. That matters for aggressive solvents (dichloromethane, THF, DMSO) and for headspace applications where the septum is exposed to vapor. The PTFE layer does not reseal, so the silicone underneath must still be soft enough to close the slit. A PTFE-faced septum with a 45 Shore A silicone base is a reasonable compromise for most LC and GC work.
Vial septum dimensions
The standard 2 mL HPLC vial uses an 11 mm septum, and the crimp or screw cap holds it against a 6 mm center hole. The septum thickness is typically 1.0 mm for a silicone/PTFE sandwich. A 9 mm screw-thread vial uses a 9 mm septum. Get the diameter wrong and the septum will not seat, which produces a leak that looks like a coring problem but is not. The chromatography vial you choose should match the cap and the autosampler tray geometry; a mismatched septum is a common source of phantom leaks.
For LC autosamplers, the pre-slit septum is worth the cost. A pre-slit septum has a small slit molded in, so the needle parts the material instead of cutting it. That reduces coring substantially, and it also reduces the force needed to pierce, which is easier on the needle. The trade-off is that a pre-slit septum is more prone to evaporation and to septa pop-off under vacuum. For a short run at ambient temperature it is fine. For a 24-hour sequence with a volatile solvent, I use a non-slit septum and accept the coring risk.
The needle side: geometry, gauge, and what bends
The needle is a consumable too, and it wears. A needle that has made 5,000 injections has a tip that is no longer sharp. Under a microscope, a used needle shows a rounded point and sometimes a burr on the bevel. A burred needle tears the septum instead of cutting it, which accelerates coring on the septum and shortens the needle’s own life.
Needle gauge selection is a trade-off between coring and bending:
- 22 gauge (0.72 mm OD): stiff, resists bending, but cuts a larger hole and cores faster. Good for viscous samples and for autosamplers with poor needle alignment.
- 23 gauge (0.63 mm OD): the standard for most HPLC and GC autosamplers. A reasonable balance.
- 26 gauge (0.47 mm OD): small hole, less coring, but bends easily. Use only with a well-aligned autosampler and a soft septum.
I standardize on 23 gauge for routine work and reserve 26 gauge for small-volume injections where the sample is precious. The HPLC vial and cap you use should be checked against the needle gauge: a 6 mm center hole with a 26-gauge needle gives plenty of clearance, but a 4 mm hole with a 22-gauge needle leaves almost no margin for alignment error.
Needle alignment and the injection depth
Most coring I have traced to the autosampler comes down to alignment and depth. If the needle does not enter the septum perpendicular, it cuts an oval hole that reseals poorly. If the injection depth is set too deep, the needle tip hits the bottom of the vial and the tip deflects. A 2 mL vial with a 1.0 mm septum and a 6 mm center hole should have the needle stop 2 to 3 mm above the vial bottom. I have seen methods set to “bottom” that drove the needle into the glass and bent it on the first injection.
The fix is a mechanical check, not a method change. Load a vial with a small amount of dye, run one injection, and look at where the needle lands. If it is off-center, adjust the tray or the needle guide. If it is too deep, change the injection depth parameter. This takes ten minutes and prevents most needle damage.
A coring troubleshooting checklist
When a run shows the symptoms (ghost peaks, a rising baseline, a needle error, or a visible fragment in the vial), I work through this list in order. It is faster than guessing.
- Pull the inlet septum and inspect it. Look for an enlarged hole, a missing plug, or a flap. If the hole is larger than the needle OD, replace it and reset the injection count.
- Inspect the needle tip under a loupe or microscope. A rounded point or a burr means replace the needle. Do not try to sharpen it.
- Check the injection depth. Confirm the needle stops 2 to 3 mm above the vial bottom, not at the bottom.
- Check alignment. Run a dye injection and confirm the needle lands within the center hole, not at the edge.
- Check the septum hardness and temperature rating against the inlet temperature. A 300 °C septum on a 320 °C inlet is a coring and bleed problem waiting to happen.
- Check the vial septum diameter against the cap. An 11 mm septum in a 9 mm cap will not seat and will leak.
- Inspect the liner and the column frit for septum fragments. A fragment in the liner is a ghost peak source; a fragment on the frit is a pressure problem.
- Review the injection count for the septum and the needle. If you do not track it, start. A simple log on the autosampler or in the sequence file is enough.
The checklist is deliberately ordered from cheapest to most expensive. The septum is a few dollars; the column is not. Most coring incidents are resolved at step one or two.
Setting replacement intervals with real numbers
The single most useful thing you can do is replace on a count, not a feeling. Here are the intervals I use as starting points, with the caveat that every method needs its own number.
| Consumable | Starting interval | Inspect at | Notes |
|---|---|---|---|
| Inlet septum, 280 °C, 23-gauge | 100 to 150 injections | 100 | Pull and inspect; adjust down if cratered |
| Inlet septum, 200 °C, 23-gauge | 200 to 300 injections | 150 | Lower temperature extends life |
| Vial septum, LC, pre-slit | Single use | N/A | Do not re-use a pierced vial septum |
| Vial septum, LC, non-slit | Single use | N/A | Re-use is the main cause of coring at the vial |
| Autosampler needle, 23-gauge | 3,000 to 5,000 injections | 2,500 | Inspect tip; replace on burr or bend |
| Liner | 100 to 200 injections | 100 | Replace with septum; check for fragments |
The vial septum number deserves emphasis. A vial septum is a single-use item. Re-piercing a used vial septum is the most common cause of coring at the vial, and it is entirely avoidable. If you are re-using vials to save money, you are trading a few cents of septum for a needle and a rerun. The chromatography products budget should treat septa as consumables, not as durable goods.
How to measure coring objectively
Visual inspection is subjective. If you want a number, run a puncture test. Take a fresh septum, pierce it with the production needle at the production depth, and count punctures until the septum leaks under a defined pressure. A simple rig: a septum in a cap, a pressure gauge, and a syringe. Pressurize to 10 psi and watch for a pressure drop. A good silicone septum holds 10 psi for at least 50 punctures at 23 gauge; a cored one fails in under 20. This is not a published standard, but it is a repeatable in-house test that tells you when a lot is bad.
For a more formal reference, the ASTM and ISO systems cover septum and closure dimensions (the 11 mm crimp and the 9 mm screw-thread are standardized), and the U.S. EPA SW-846 methods specify sample handling and injection practices for environmental work that assume a fresh septum per batch. If you are running a regulated method, the septum replacement interval belongs in your SOP, not in someone’s memory.
Why this matters more in regulated work
In a regulated lab, a coring failure is a data integrity problem, not just a maintenance problem. A ghost peak from a septum fragment can be integrated as a real peak. A needle that bends mid-sequence can produce a partial injection that looks like a low recovery. Neither shows up as an instrument error. The analytical testing record shows a result, and the result is wrong.
The defense is documentation. Log the septum and needle injection counts in the sequence file or the instrument log. Record the inspection result. When a batch fails, you can rule out coring in minutes instead of hours. I have seen a lab spend two days chasing a “column problem” that turned out to be a cored inlet septum dropping fragments onto the frit. The column was fine. The septum was not.
Practical precautions that actually reduce coring
These are the changes I make first, in order of impact.
- Use pre-slit septa for LC where evaporation is not a concern. The needle parts the material instead of cutting it, and the reduction in coring is noticeable within a few hundred injections.
- Match the needle gauge to the septum hardness. A 26-gauge needle with a 50 Shore A septum cores faster than a 23-gauge with a 45 Shore A septum. Pick the pair, not the parts.
- Set the injection depth 2 to 3 mm above the vial bottom. This alone prevents a large share of bent needles.
- Replace vial septa every injection. A pierced septum is a spent septum. The cost is trivial compared with a rerun.
- Inspect the inlet septum at 100 injections until you have a method-specific number. Then set the interval and log it.
- Keep a spare needle and a spare septum at the instrument. The failure always happens at the end of a sequence, and having the part on hand turns a lost day into a ten-minute fix.
For reference data on septum bleed and needle compatibility, the vendor technical resources are worth reading: Agilent’s GC columns and accessories pages, Thermo Fisher’s chromatography and sample handling documentation, and Restek’s technical resources. They publish bleed curves and temperature ratings that are more useful than the catalog spec.
Recommendation
Treat the septum and the needle as a matched consumable pair with a logged injection count. For a 280 °C split/splitless inlet with a 23-gauge needle, use a low-bleed silicone septum rated to at least 330 °C, replace it at 100 to 150 injections, and inspect at 100. For LC, use an 11 mm septum in a 6 mm center-hole cap, replace it every injection, and use a pre-slit septum where evaporation allows. Set the injection depth to 2 to 3 mm above the vial bottom and check alignment with a dye injection. Inspect the needle tip at 2,500 injections and replace it at 3,000 to 5,000, or sooner if the tip is burred. Log all of it. The number that matters is not the catalog spec; it is the count on your instrument.
Coring is boring, cheap to prevent, and expensive to ignore. The septum costs less than the needle, and the needle costs less than the column. Replace in that order, on a count, and the ghost peaks and bent needles stop showing up in your data.
References & further reading
Related resources from our lab consumables network:
- Analytical Testing at labanalyticaltesting.com
- Chromatography Vial at chromvials.com
- Hplc Vial at hplcvialfactory.com
- Chromatography Products at chromatographyforsale.com
External references and standards: