A 96-well plate run on a Monday morning came back with the internal standard peak areas down 11.4% from Friday’s calibration, and the analyst had capped every well with the same lot of pierceable silicone mats. Nothing had changed in the method, the column, or the LC. The weight loss was in the plate, not the chemistry. If you run analytical testing where seal failure, evaporation and sample loss are quietly eroding your data, the fix almost always starts with a balance, a stopwatch, and a hard look at the seal interface.
This is the part of the workflow nobody writes SOPs for. We obsess over column lot numbers and mobile phase pH, then hand the sample to a 9 mm cap with a 1 mm septum and hope. I have spent more hours than I care to admit chasing drift that turned out to be a septum that never re-sealed after the autosampler needle punched through it. Here is how I diagnose it, measure it, and stop it.
Evaporation loss is not one failure. It is four, and each one has a different signature. If you do not know which path is open, you will buy the wrong consumable and the drift will come back next month.
Path 1: the needle puncture itself
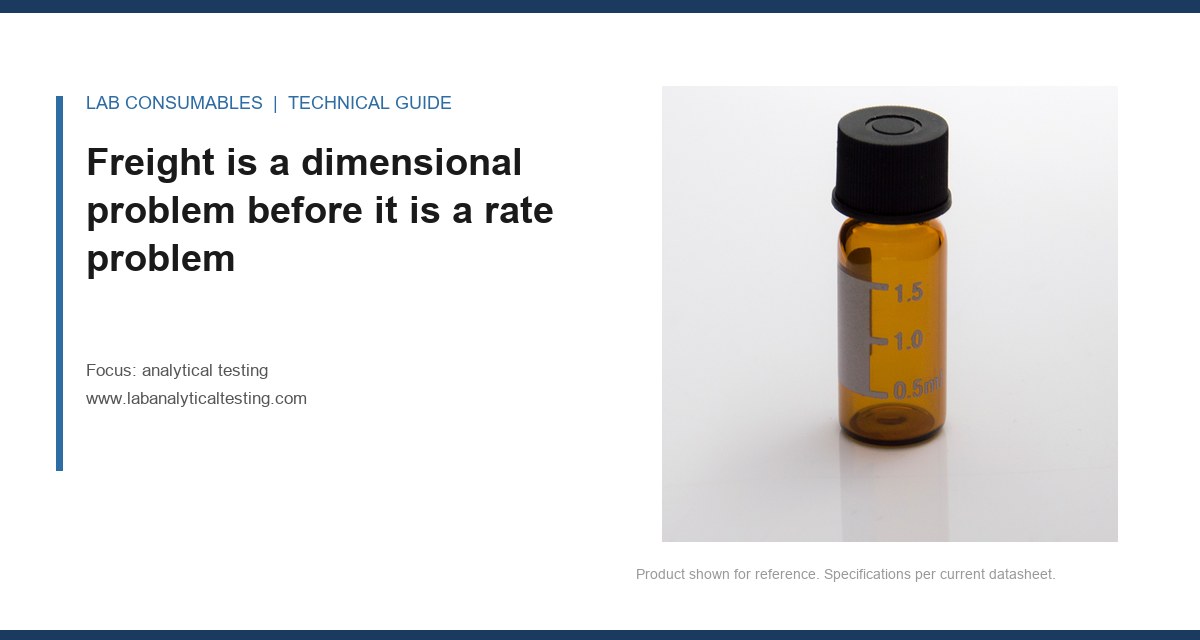
A standard 23-gauge autosampler needle is about 0.64 mm outside diameter. Every injection leaves a hole that size in the septum. Silicone is elastic and wants to close, but it does not close perfectly, and it does not close instantly. On a 2 mL chromatography vial with a 1 mm thick molded silicone/PTFE septum, a fresh puncture will re-seal to within a few microns of the original within about 30 seconds at room temperature. A 3 mm thick septum takes longer. A laminated septum where the PTFE facing has been scored takes much longer, or never.
Path 2: the crimp or thread interface
The seal between the cap and the glass neck is where most field failures live. A 11 mm crimp cap on a 11 mm finish vial depends on the aluminum skirt deforming the septum against the neck land. If the crimp is under-torqued, the septum is not compressed enough and vapor migrates around the outside of the septum, not through it. If it is over-crimped, the septum tears at the skirt and the tear is invisible until you decap.
Path 3: compression set in the septum
Silicone takes a permanent deformation under load. Leave a cap torqued on a vial for a week and the septum thins where it contacts the neck. When you loosen and re-tighten, it no longer seals at the same compression. This is why re-capped vials fail in a way that fresh vials never do.
Path 4: permeation through the septum body
This is the slow one. Silicone is highly permeable to small molecules. Methanol, acetonitrile, and dichloromethane all diffuse through a 1 mm silicone septum at measurable rates even with no puncture at all. PTFE facing cuts permeation dramatically, which is why every serious septum is faced. A bare silicone septum on a volatile solvent will lose meaningful mass in 24 hours at 4 °C, and it will lose it faster at 25 °C.
Re-seal behaviour after puncture is the spec nobody quotes
Vendors will tell you the puncture count a septum survives. They rarely tell you how well it re-seals after puncture number 5, 10, or 50. That number is the one that governs multi-injection sequences, and it is the one I test first when a new lot arrives.
The test is simple. Take ten vials filled with 1.0 mL of methanol, cap them, and weigh each on a balance readable to 0.1 mg. Puncture each septum with the autosampler needle the number of times you expect in a real run (I use 1, 5, 10, and 25 punctures across four groups). Reweigh at 0, 2, 8, and 24 hours. The slope of mass loss versus time is your evaporation rate. A good 1 mm silicone/PTFE septum at 10 punctures should hold loss under 0.5 mg per hour per vial at 22 °C. If you are seeing 2 mg/hour, the septum is not re-sealing and you will see it in your RSDs before you see it in the balance.
What I actually find: molded silicone septa hold re-seal well up to about 10 punctures, start to leak measurably by 15, and are unusable past 25. Slotted or pre-slit septa re-seal worse, not better, because the slit is a permanent opening. If your method calls for more than 15 injections from one vial, use a fresh vial, not a tougher septum. The HPLC vial selection guide on our sister site covers the geometry; the re-seal behaviour is on you to verify.
Compression set: the failure mode that only shows up on day three
Compression set is the permanent deformation a septum retains after the load is removed. It is measured per ASTM D395 (method B, constant deflection) and reported as a percentage of original thickness. A silicone with 20% compression set at 70 hours and 100 °C will recover most of its thickness when you loosen the cap. A cheap peroxide-cured silicone with 45% set will not.
In practice, compression set bites you in three places:
- Re-capped vials. If a prep bench caps, uncaps to add internal standard, and re-caps, the second seal is on a deformed septum. Loss rate roughly doubles.
- Long autosampler queues. A vial sitting in a 4 °C tray for 18 hours with a cap torqued at the factory is under continuous load the whole time. The septum relaxes and the seal loosens.
- Hot blocks and incubators. Above 40 °C, silicone compression set accelerates. A septum rated for 24 hours at 22 °C may leak within 4 hours at 60 °C.
The fix is not a harder septum. It is a shorter queue, a re-torque at the start of the run, or a switch to a PTFE-faced septum with a lower set value. I specify ≤25% compression set at 22 hours, 175 °C for anything going into a heated autosampler.
Measuring evaporation loss gravimetrically over a real run
You cannot manage what you do not measure, and most labs never measure this. Here is the protocol I run when a method shows unexplained drift on volatiles or semi-volatiles.
The setup
- Balance readable to 0.01 mg (0.1 mg is workable for 2 mL vials; 0.01 mg for 96-well plates).
- Same vials, caps, and septa as the production run. Same lot.
- Same solvent matrix as the samples. Methanol and acetonitrile are the worst offenders; water is nearly a non-issue.
- Same environmental conditions as the autosampler tray (temperature, and if you can, humidity).
The measurement
Weigh each capped, filled vial at t=0. Place in the autosampler tray. Weigh at 1, 4, 8, 12, and 24 hours. Calculate cumulative mass loss per vial, then divide by the number of hours to get an hourly rate. Plot it. A straight line means steady permeation. A curve that steepens after the first injection means the puncture is the leak path. A curve that steepens after 8 hours means compression set is opening the crimp.
Run this against your method’s internal standard recovery. If mass loss is above 1 mg/hour and your IS recovery is dropping more than 5% over the run, you have a seal problem, not a detector problem. That correlation is the single most useful diagnostic I have found for separating consumable failures from instrument failures.
What the numbers look like in a clean vs. dirty setup
| Condition | Hourly loss (mg/vial) | 24 h cumulative (mg) | IS recovery drift |
|---|---|---|---|
| Fresh 1 mm silicone/PTFE, 1 puncture, 22 °C | 0.15 | 3.6 | <1% |
| Same septum, 15 punctures | 0.9 | 21.6 | 2 to 4% |
| Same septum, 25 punctures | 2.4 | 57.6 | 6 to 9% |
| Re-capped vial, 2nd seal | 1.8 | 43.2 | 4 to 7% |
| Bare silicone, no PTFE facing | 3.5 | 84.0 | 8 to 12% |
| Under-crimped 11 mm cap | 4.0 to 8.0 | 96 to 192 | >12%, often erratic |
Those numbers are from a methanol matrix at 22 °C, 45% RH. Your absolute values will differ, but the ratios hold. If you are seeing 2 mg/hour on a fresh vial with one puncture, your cap is wrong or your crimp is wrong. Do not blame the septum until you have checked the crimp.
Two field cases where the balance found the answer
Case 1: the 96-well plate that lost 11% over a weekend
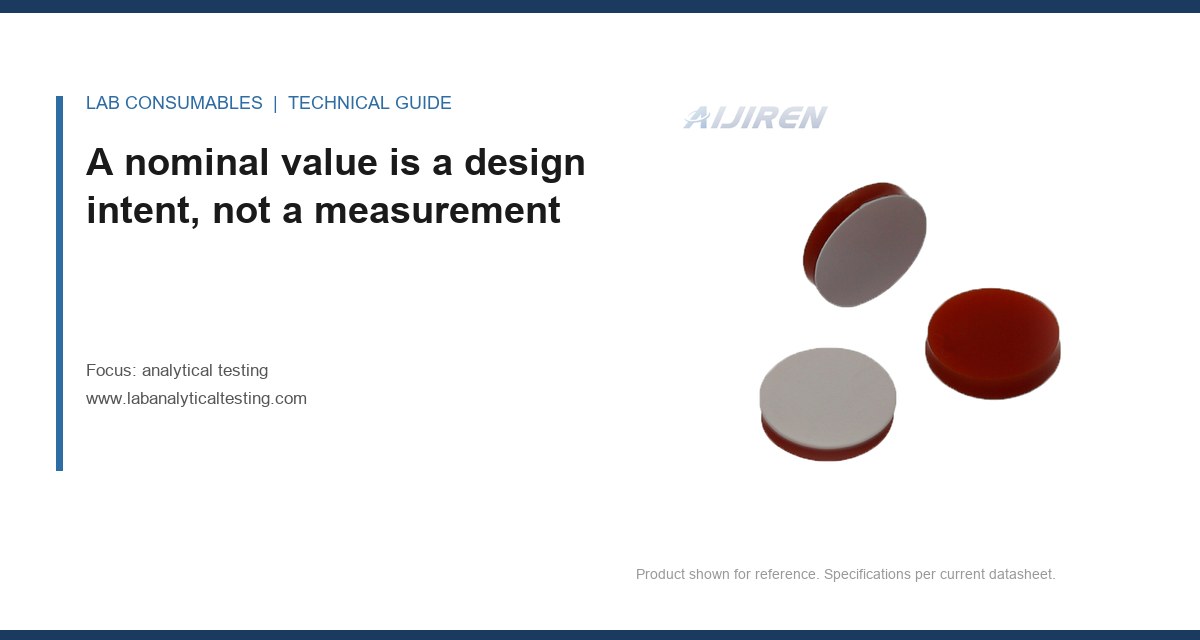
A contract lab running a 96-well plate assay on a volatile analyte saw IS areas drop 11.4% between Friday’s prep and Monday’s injection. The plate was sealed with a pierceable silicone mat and stored at 4 °C. Detector response was flat, column was new, mobile phase was fresh. The gravimetric test: they weighed a duplicate plate at t=0 and at 60 hours. Mass loss was 38 mg per well, which is roughly 4% of the 1.0 mL fill. That is a lot of methanol leaving through a mat.
The cause was the mat, not the storage. The pierceable silicone mat was 1.2 mm thick with no PTFE facing, and the plate had been pierced 8 times per well during prep. The re-seal after 8 punctures on that mat was poor, and 60 hours at 4 °C was enough for measurable loss. The fix: switch to a PTFE-faced mat, cap the plate immediately after prep, and re-weigh a duplicate plate every time the storage interval exceeds 24 hours. IS drift dropped to under 2%.
Case 2: the 11 mm crimp that passed QC and failed the run
A pharma QC lab running USP <621> method suitability on a volatile API saw tailing and area drift only on the last six vials of a 30-vial sequence. First 24 vials were fine. The gravimetric test on vials 25 to 30 showed 3.8 mg/hour loss, versus 0.2 mg/hour on vials 1 to 5. Same lot of caps, same lot of vials. The difference was the crimper. A worn crimping jaw had been producing caps with a skirt that looked correct but had a 0.3 mm gap on one side. The gap was invisible by eye and passed the visual QC check. A torque test with a crimp gauge showed the failing caps at 0.6 N·m versus the specified 1.1 to 1.3 N·m. Replacing the jaw and re-qualifying the crimper fixed it. The lesson: torque is a number, and a visual check is not a torque check.
A troubleshooting checklist you can run in an afternoon
When you suspect seal failure, evaporation and sample loss, work through this in order. Do not skip to the septum.
- Weigh a duplicate set. Ten vials, same lot, same fill, same environment. Measure at 0, 4, and 24 hours. If you cannot be bothered to do this, stop reading; nothing else will help.
- Check the crimp or thread torque. For 11 mm crimp, target 1.1 to 1.3 N·m with a calibrated crimp gauge. For 9 mm screw thread, target 0.6 to 0.9 N·m. Under-torque is more common than over-torque.
- Count the punctures. If any vial has more than 15, replace it. If the method needs more, the method needs a fresh vial, not a tougher septum.
- Check the septum facing. PTFE facing toward the sample, silicone toward the cap. Backwards is a common assembly error on hand-crimped vials.
- Verify compression set. Ask the vendor for ASTM D395 data. Reject anything above 25% at 22 h, 175 °C for heated applications.
- Inspect the neck land. A chipped or out-of-round neck (more than 0.1 mm runout) will not seal regardless of cap torque. This is a glass problem, and it is why analytical testing labs that qualify incoming glass lots see fewer of these failures.
- Match the septum to the solvent. Methanol and DCM need PTFE facing. Aqueous matrices are forgiving. If you are running volatiles, the septum is a functional part of the method, not a consumable afterthought.
Selecting a septum and cap that actually holds: the parameters that matter
When I write a consumable spec, I put numbers on the page. Here is what I require, and what I reject.
- Septum thickness: 1.0 mm for standard 2 mL vials, 1.5 mm for heated autosamplers. Thinner re-seals faster; thicker holds compression better at temperature.
- Facing: PTFE or PTFE-lined silicone, minimum 0.1 mm facing. Bare silicone is only acceptable for aqueous matrices.
- Puncture rating: specify the count at which the septum still holds <0.5 mg/hour. Do not accept a “50 puncture” claim without the re-seal data behind it.
- Compression set: ≤25% at 22 h, 175 °C per ASTM D395 method B.
- Temperature rating: -40 to 100 °C for standard silicone; -40 to 200 °C for high-temp grades. Verify the rating is for continuous use, not a one-hour excursion.
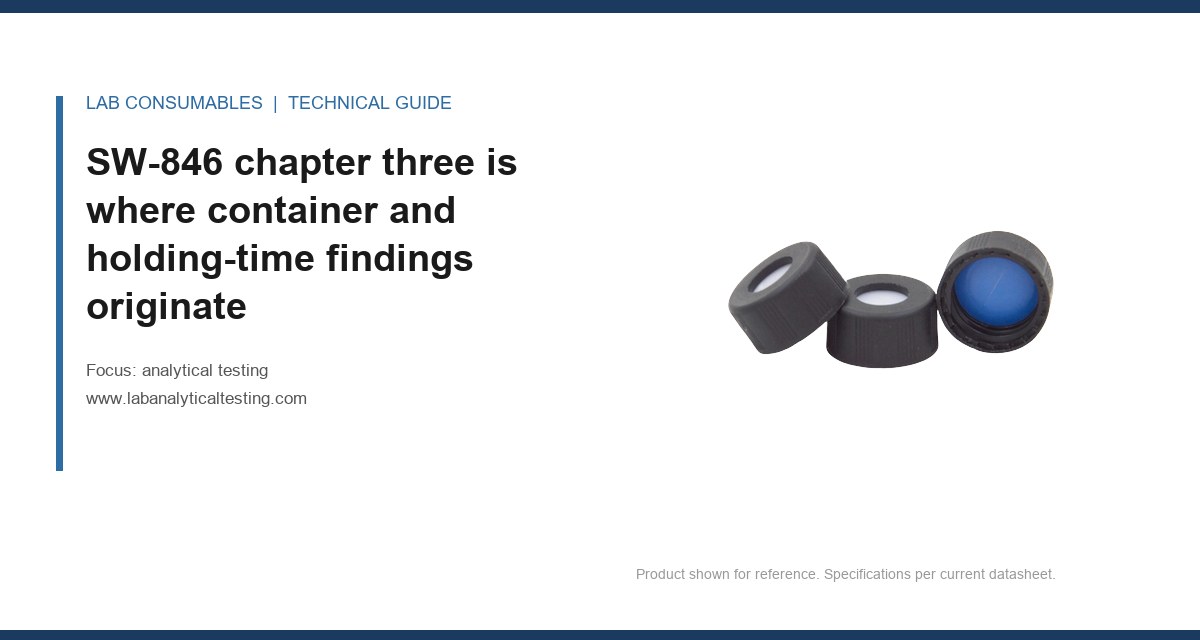
- Cap finish: 11 mm crimp or 9 mm screw thread, GPI 9-425 for screw thread. Confirm the neck finish matches the cap; a 9 mm cap on an 8-425 neck will not seal no matter how hard you torque it.
- Lot traceability: require the septum lot and cap lot to be recorded on the run sheet. When a drift investigation starts, you need to know which lot to quarantine.
For method development and validation work, cross-check the consumable spec against the vendor’s published data before you commit. The Agilent chromatography consumables and Thermo Fisher sample handling catalogs both publish septum thickness and temperature ratings; Restek’s technical resources have useful re-seal and permeation notes. Use them as a starting point, then verify on your own balance with your own matrix. Vendor data is a filter, not a qualification.
If you are running regulated work under EPA SW-846 or USP <621>, the seal is part of the method’s sample integrity requirement, not an accessory. The chromatography products catalog on our sister site lists septum options by matrix compatibility; use it to shortlist, then run the gravimetric test on the shortlist before you buy a case.
The decision rule is this: if your internal standard recovery drifts more than 5% across a run, or your gravimetric loss exceeds 1 mg/hour per vial, stop investigating the instrument and start investigating the seal. Measure the loss, identify the leak path, and replace the consumable that is failing. The balance is cheaper than the re-run, and it is usually right.
References & further reading
Related resources from our lab consumables network:
- Analytical Testing at labanalyticaltesting.com
- Chromatography Vial at chromvials.com
- Hplc Vial at hplcvialfactory.com
- Chromatography Products at chromatographyforsale.com
External references and standards: