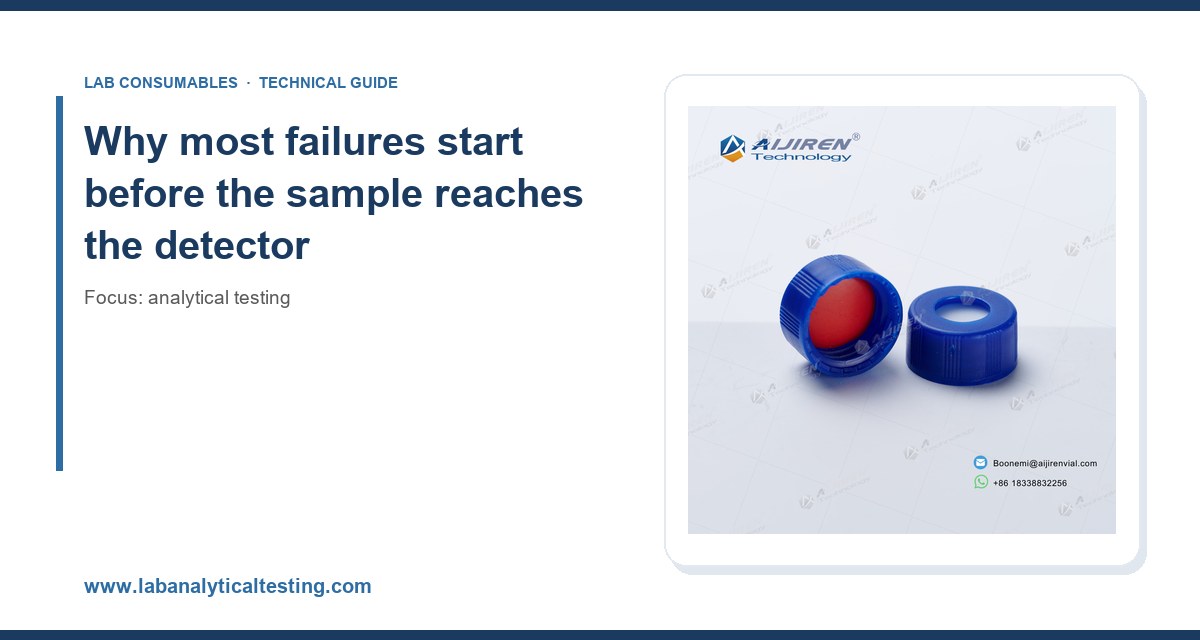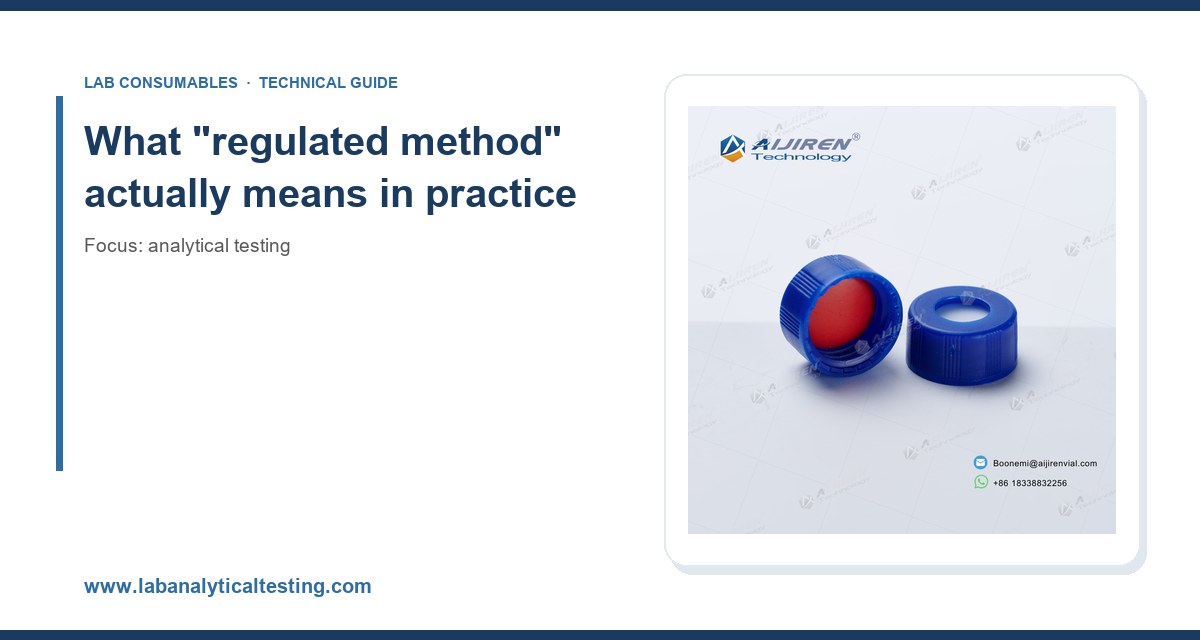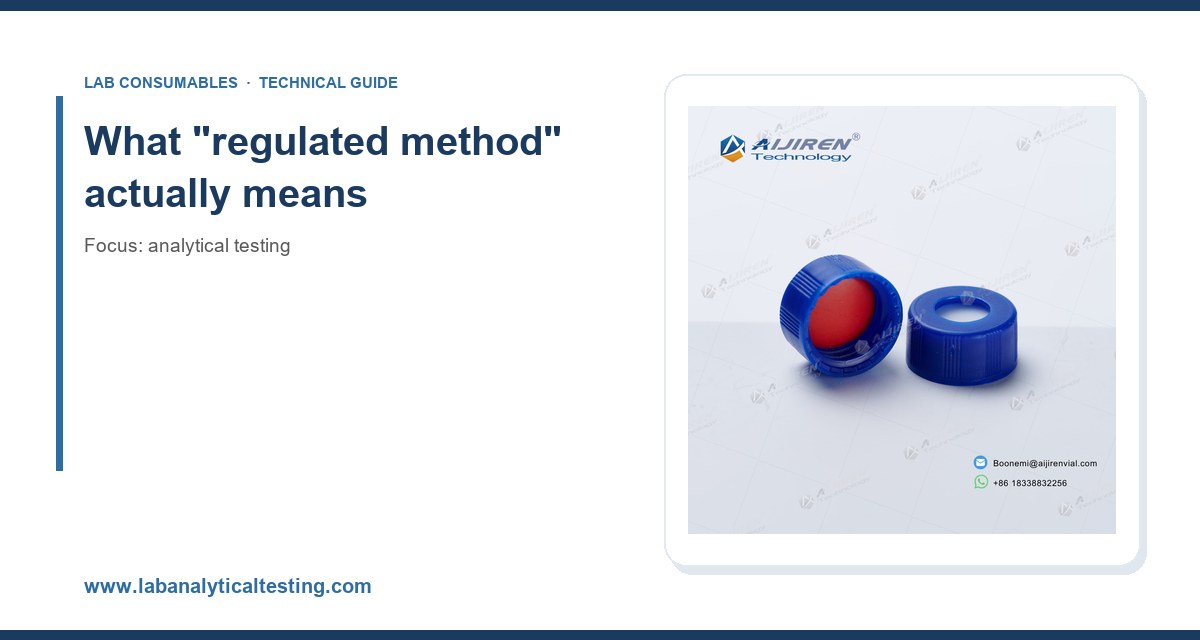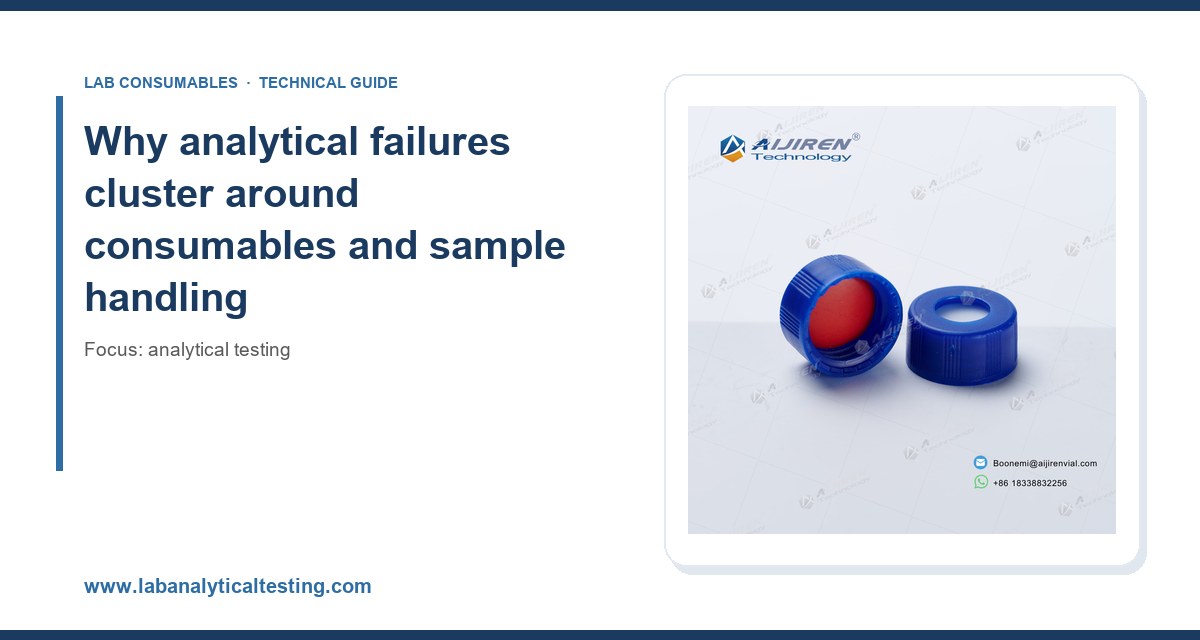
I once lost three days on an HPLC method that had run clean for two years. The retention times drifted by 0.4 minutes, peak area RSD climbed from 0.8% to 6.2%, and the pressure trace looked like a sawtooth. The culprit was a 12 mm cap on a 2 mL vial that had been crimped with a worn jaw, deforming the septa just enough to create a slow leak at the inlet. No instrument fault, no column failure, just a sealing problem that nobody thought to check. That experience shaped how I troubleshoot analytical testing today: start with the consumable, not the detector.
Most failures in daily analytical work are not exotic. They cluster around a handful of root causes: sample preparation errors, consumable degradation, calibration drift, and operator technique that varies between shifts. This article covers the ones I see most often in QC labs, contract testing facilities, and method development groups, with the specific numbers and fixes that actually work.
When I audit a lab’s failure log, roughly 60 to 70 percent of out-of-specification (OOS) results trace back to something upstream of the detector. The instrument itself is usually fine. The problem is what went into it: a vial with a leachable, a column run past its useful life, a pipette that was never checked, a standard that degraded in the fridge.
That pattern holds across techniques. In GC, inlet septa bleed and liner contamination dominate. In HPLC, it is check valve failure, mobile phase degassing, and column fouling. In ICP-MS, it is cone fouling and torch alignment. In dissolution testing, it is media preparation and vessel alignment. None of these are glamorous, and none show up in a vendor’s validation package, but they are what keep analysts up at night.
The fix is not more instrumentation. It is a disciplined approach to consumables selection, replacement intervals, and sample handling, backed by a troubleshooting checklist that anyone on the bench can follow. If you are building out a testing program from scratch, the resources at Analytical Testing are a reasonable starting point for method categories and reference standards.
Failure mode 1: vial and cap problems that look like instrument faults
Vials are the cheapest thing on the bench and the most common source of phantom problems. I have seen retention time drift, ghost peaks, and autosampler crashes all traced to vials and caps that were technically compliant but practically wrong for the application.
Septum coring and injection port blockage
A standard silicone/PTFE septum is rated for roughly 50 to 100 punctures with a 22-gauge needle before coring becomes a real risk. Most labs never track puncture counts. They run the same vial through a 96-well autosampler sequence, then wonder why the needle clogs on run 60.
The failure mode is straightforward: the needle punches a plug of silicone into the vial, the plug floats, and on the next injection it either blocks the needle or gets aspirated into the column. A pre-column frit catches it, pressure rises, and you spend an afternoon chasing a “column problem” that is actually a septum problem.
Prevention: use pre-slit septa for high-throughput sequences, replace caps every 24 to 48 hours of continuous autosampler use, and never reuse a crimp cap. If you are running more than 100 injections per vial position, switch to a septum rated for higher puncture counts or use a vial with a wider opening. The Chromatography Vial catalog covers the standard 12 x 32 mm formats and the septa options that pair with them.
Crimp vs. screw thread: torque and seal integrity
Crimp caps seal reliably but demand a consistent crimping force. A worn jaw produces uneven crimps, and uneven crimps leak. I have measured headspace loss of 2 to 5 percent per hour on poorly crimped 20 mm caps, which is enough to shift GC headspace results by double digits.
Screw-thread vials are more forgiving but depend on cap torque. For 9 mm screw caps, 0.8 to 1.2 N·m is the practical range. Over-torque deforms the septum and creates a channel; under-torque allows evaporation. A torque screwdriver costs less than a single repeat analysis and removes the variable entirely.
For 2 mL HPLC vials, the standard is a 12 x 32 mm body with a 9 mm opening, compatible with most autosamplers. If you are standardizing across instruments, the HPLC Vial reference covers dimensional tolerances and autosampler compatibility tables that save a lot of trial and error.
Leachables and adsorptive loss
Glass is not inert. Borosilicate vials can leach sodium, boron, and trace metals, and the effect is worse with alkaline mobile phases or long storage. For trace metal analysis at the ppb level, use Type I borosilicate with low extractables or switch to PTFE-lined vials.
Adsorptive loss is the opposite problem: hydrophobic analytes stick to the glass. Silanized vials reduce this, but they add cost and can introduce their own background. For compounds like steroids or certain pesticides at low concentration, I test both and pick based on recovery data, not vendor claims.
Failure mode 2: column degradation and the pressure trace you ignored
Columns fail slowly, and the warning signs are visible for weeks before performance collapses. The pressure trace is the first indicator. A gradual rise of 10 to 15 bar per 100 injections on a 4.6 mm column is normal frit loading. A rise of 30 bar or more in the same window means something is depositing on the inlet frit, and it will not fix itself.
Common root causes of premature column failure
- Unfiltered mobile phase: buffer salts precipitate at the frit. Use 0.22 µm filtration and degas before use.
- Sample particulates: unfiltered samples are the leading cause of inlet frit blockage. Centrifuge or filter at 0.22 µm before injection.
- pH outside column range: silica-based columns degrade rapidly above pH 8 or below pH 2. Check the manufacturer’s range and stay inside it.
- Temperature excursions: running above the column’s rated maximum accelerates stationary phase loss. Most C18 columns are rated to 60 °C; some hybrid phases go higher.
- Improper storage: storing in high-salt buffer promotes microbial growth. Flush with 90/10 water/methanol before storage.
Column selection matters too. If you are running a method that requires a specific selectivity, the technical resources at Restek and the column documentation at Agilent are worth reading before you swap phases. A column that is “equivalent” on paper can shift selectivity by 5 to 10 percent, which is enough to ruin a validated method.
When to replace vs. when to regenerate
Regeneration works for reversible fouling: strong solvent flush, reversed flow at low rate, or a gradient wash. It does not work for physically damaged frits or collapsed bed. My rule: if two regeneration attempts do not restore the original pressure and peak shape, replace the column. Chasing a marginal column through a validation run costs more in analyst time than the column itself.
Failure mode 3: calibration drift and the standard that was not what it claimed
Calibration drift is usually blamed on the instrument. More often, it is the standard. Reference materials degrade, absorb moisture, or were never what the certificate said. I have seen a “99.5% pure” standard that assayed at 94% by qNMR, which explained a 5% bias that had been attributed to the detector for months.
Standard preparation pitfalls
- Hygroscopic salts: weigh quickly, dry per certificate instructions, and store with desiccant.
- Volumetric flask tolerance: a Class A 100 mL flask has a tolerance of ±0.10 mL, which is 0.1% error. Class B is double that. Use Class A for calibration standards.
- Temperature: volumetric glassware is calibrated at 20 °C. Preparing standards at 25 °C introduces a small but real volume error.
- Expiration: many working standards are stable for 30 days or less. Date them and discard on schedule.
Calibration curve acceptance criteria matter. For HPLC assays, I use a correlation coefficient of ≥0.999 and check residuals for non-random patterns. A curve that passes R² but shows a systematic residual trend is a warning sign of standard preparation error or detector nonlinearity.
System suitability: the early warning system
System suitability is not a formality. It is the cheapest early warning you have. Track retention time RSD, peak area RSD, tailing factor, and theoretical plates across runs. A drift in any of these over 20 to 30 injections predicts a failure before it happens.
For USP methods, the standard acceptance criteria are typically ≤2% RSD for peak area (n=5 or 6) and tailing factor ≤2.0. If you are consistently at 1.8% RSD, you are one bad injection away from a failed run, and the root cause is usually a worn autosampler needle or a partially blocked seat.
Failure mode 4: sample preparation errors that propagate silently
Sample prep is where analytical testing is most vulnerable, because the errors are invisible until the data is questioned. The instrument reports a number, the number looks plausible, and nobody checks the extraction efficiency until an audit.
Extraction and recovery
Recovery should be validated, not assumed. For solid-phase extraction, recovery of 80 to 120 percent is a common acceptance window, but the number depends on the analyte and matrix. A method that recovers 60% consistently is not wrong if it is validated at 60%, but a method that recovers 60% on Monday and 90% on Friday has a problem.
The usual suspects: inconsistent flow rate through the cartridge, sorbent lot variation, and elution volume errors. Flow rate matters more than most analysts realize. Doubling the load flow can drop recovery by 15 to 20 percent on ion-exchange sorbents.
Pipetting and dilution errors
A calibrated pipette is not a guarantee. I have seen pipettes that passed calibration but had worn tips that delivered 2 to 3 percent low. Tip fit matters: a poorly seated tip leaks, and a tip from an incompatible brand can change the delivered volume by more than the pipette’s tolerance.
For serial dilutions, the error compounds. Three sequential 1:10 dilutions with 1% error each produce a 3% cumulative error, which is enough to fail a tight specification. Use gravimetric verification for critical dilutions, or at minimum check the dilution series against an independent standard.
Failure mode 5: environmental and instrument-side causes
Some failures are not consumable or technique problems. They are environmental. Labs are not always the controlled spaces they are assumed to be.
Temperature and humidity
HPLC retention times shift with column temperature at roughly 1 to 2 percent per °C for many reversed-phase methods. A lab that swings between 19 °C and 25 °C over a day will see retention drift that looks like a gradient problem. Column ovens help, but only if the oven is actually controlling to ±0.5 °C, which not all are.
Humidity affects weighing. Hygroscopic standards gain mass in a humid room. For analytical balances, keep the room at 45 to 55% relative humidity and use draft shields.
Gas supply and mobile phase quality
GC carrier gas purity is not optional. Moisture and oxygen in carrier gas degrade columns and produce baseline noise. Use 99.999% purity gas with inline traps, and replace traps on schedule, not when you remember.
Mobile phase water matters too. HPLC-grade water is not the same as Type I water. For trace analysis, use freshly prepared Type I water (18.2 MΩ·cm) and filter it. Stored water grows bacteria, and bacteria produce ghost peaks.
For a broader view of sample handling consumables and how they fit into a testing workflow, the product documentation at Thermo Fisher and the manufacturing references at Aijiren are useful when you are standardizing across sites.
A practical troubleshooting checklist
When a method fails, work through this in order. It is faster than guessing and it catches the common causes before you start replacing expensive parts.
Step 1: verify the consumables
- Vial and cap lot numbers match the validated method.
- Septum puncture count is within rating (≤100 for standard silicone/PTFE).
- Crimp torque or screw cap torque is within specification (0.8 to 1.2 N·m for 9 mm screw caps).
- Column serial number and installation date are logged; pressure history is reviewed.
Step 2: verify the sample and standard
- Standard preparation date and storage conditions are checked.
- Sample filtration and dilution are verified against the method.
- Pipette calibration is current and tips are compatible.
Step 3: verify the system
- Mobile phase is fresh, filtered, and degassed.
- System suitability passes all criteria (RSD ≤2%, tailing ≤2.0).
- Column oven temperature is stable to ±0.5 °C.
- Detector baseline noise is within historical range.
Step 4: isolate the variable
If steps 1 through 3 pass, inject a known standard and a blank. If the standard passes and the sample fails, the problem is sample prep. If both fail, the problem is the system. This binary split saves hours.
Comparison: consumable replacement intervals and what they cost when missed
The table below reflects what I use as a starting point. Adjust for your method and matrix, but do not skip the intervals entirely.
- Autosampler vial septa: replace every 24 to 48 hours of continuous use or at 100 punctures. Missed replacement risk: needle clog, ghost peaks, failed sequence.
- Crimp caps: single use only. Reuse risk: leakage, evaporation, headspace error of 2 to 5% per hour.
- Guard column: replace every 100 to 200 injections or when pressure rises 15 bar above baseline. Missed replacement risk: analytical column fouling, 2 to 3x higher replacement cost.
- Analytical column: replace when system suitability fails after two regeneration attempts. Missed replacement risk: invalid data, repeat analysis, audit finding.
- Inline gas traps: replace every 6 to 12 months or per manufacturer indicator. Missed replacement risk: column degradation, baseline noise, oxygen damage.
- Pipette calibration: every 6 to 12 months depending on use. Missed calibration risk: 1 to 3% systematic bias in every result.
The cost of a missed interval is almost always higher than the consumable. A $2 vial cap that fails costs a $500 repeat sequence and an afternoon of analyst time. The math is not close.
Regulatory context and method references
If you are working in a regulated environment, the failure modes above map to specific requirements. Method validation under U.S. EPA SW-846 and equivalent frameworks requires documented system suitability, calibration verification, and corrective action records. A troubleshooting checklist that is not documented is not a corrective action; it is a conversation.
Write down what you checked, what you found, and what you changed. The next analyst will thank you, and the auditor will require it.
Takeaway
Most analytical testing failures in daily use are preventable, and they are preventable with cheap consumables and disciplined technique, not with new instruments. Track septum puncture counts, torque your caps, log column pressure, verify standards against an independent assay, and run system suitability like it matters. When something fails, start with the consumable and the sample, not the detector. The instrument is usually the last thing that broke.
References & further reading
Related resources from our lab consumables network:
- Analytical Testing at labanalyticaltesting.com
- Aijiren at aijirentechinc.com
- Chromatography Vial at chromvials.com
- Hplc Vial at hplcvialfactory.com
External references and standards: